Before you start
A tiny craft you can actually recreate
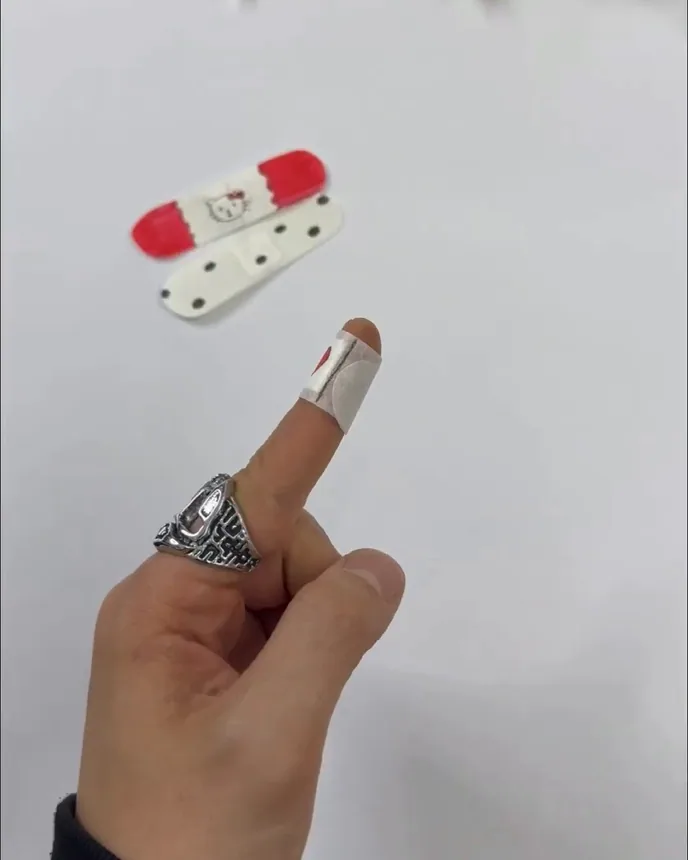
This tutorial recreates the white bandage with a red heart seen in the 28.7-second reference video. The maker cuts small adhesive pieces, folds tissue into a central pad, assembles the strip, rounds its ends, and draws a heart on top.
There is no ruler in the original video. The measurements below are recommended estimates based on its proportions, not exact numbers claimed by the creator. The goal is a neat, repeatable result for beginners.
01 / What you need
Materials & tools
White paper-style adhesive tape — approximately 2 cm wide
White tissue or toilet paper
Optional upgrade: A small piece of suitable nonstick release-liner paper can be used instead of self-sticking tape as a temporary protective cover.
02 / Cutting guide
Exact sizes to try
Use these as a practical starting point for one small finger-sized craft. Adjust the overall length if a looser fit is needed.
Temporary adhesive covers
Lifting fold on each cover
Illustration of the assembled strip
7 cm total · 2 cm wide · center pad ~1.25 cm
Simple size diagram; proportions are approximate.
03 / Photo tutorial
Step-by-step instructions
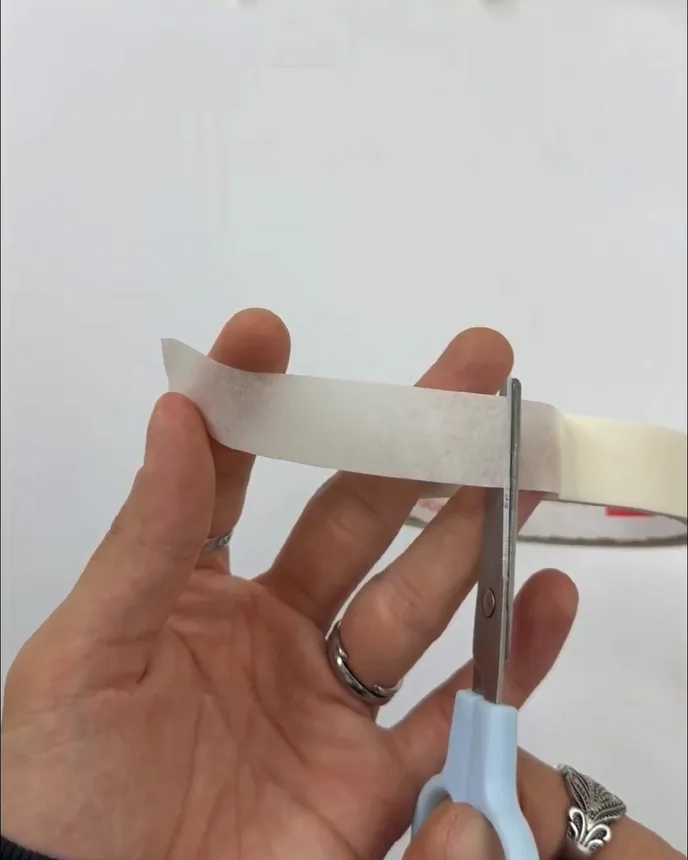
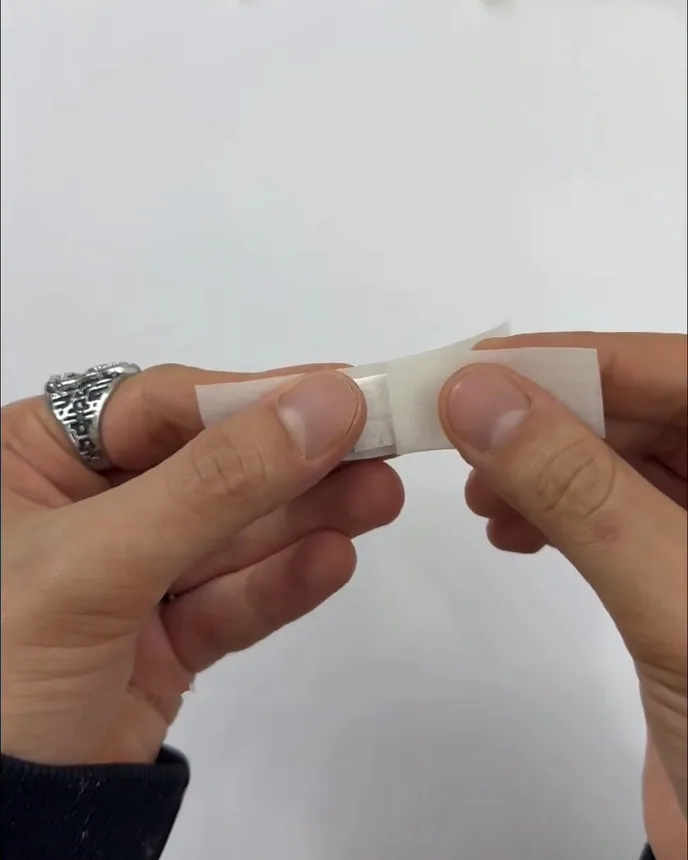
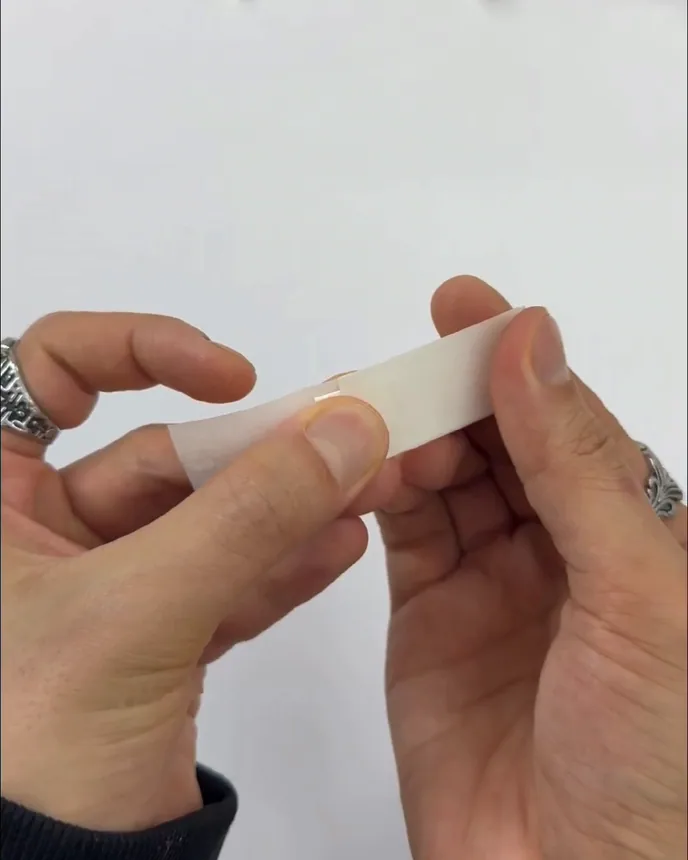
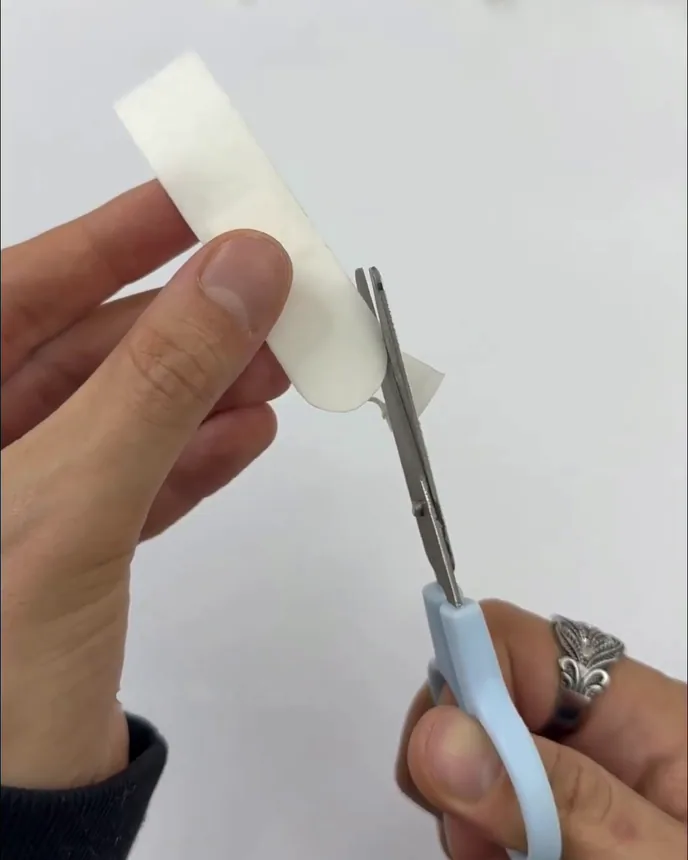
These photographs are selected frames from the reference video, arranged in the same order as the maker’s actions.
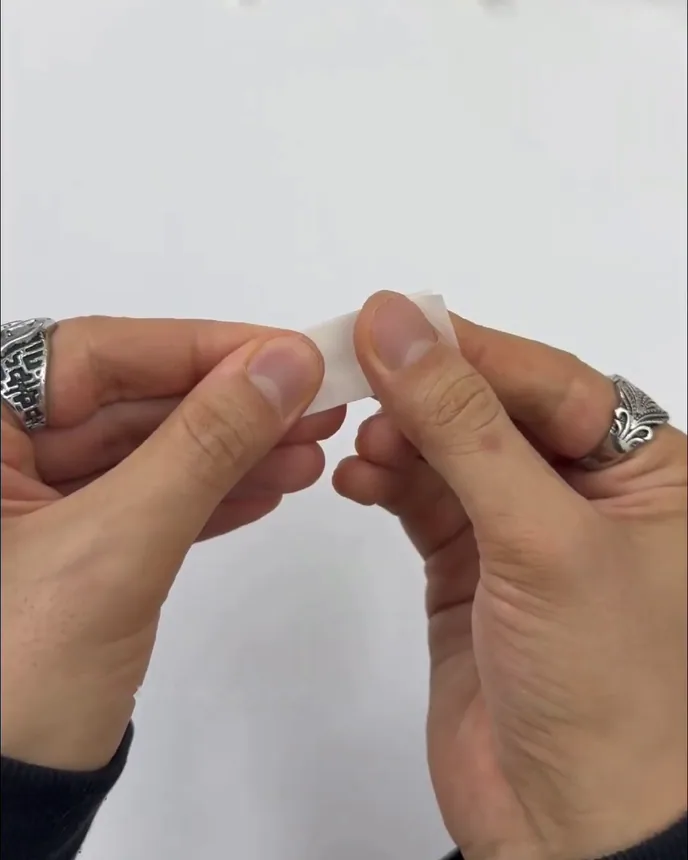
Prepare the two protective covers
Cut two small pieces of white tape, each about 3.2 × 2 cm. Fold approximately 3 mm of a short edge back on each piece to create a small lifting tab. Set them aside.
Watch for: The video shows two little pieces being handled and folded, but does not provide exact dimensions.
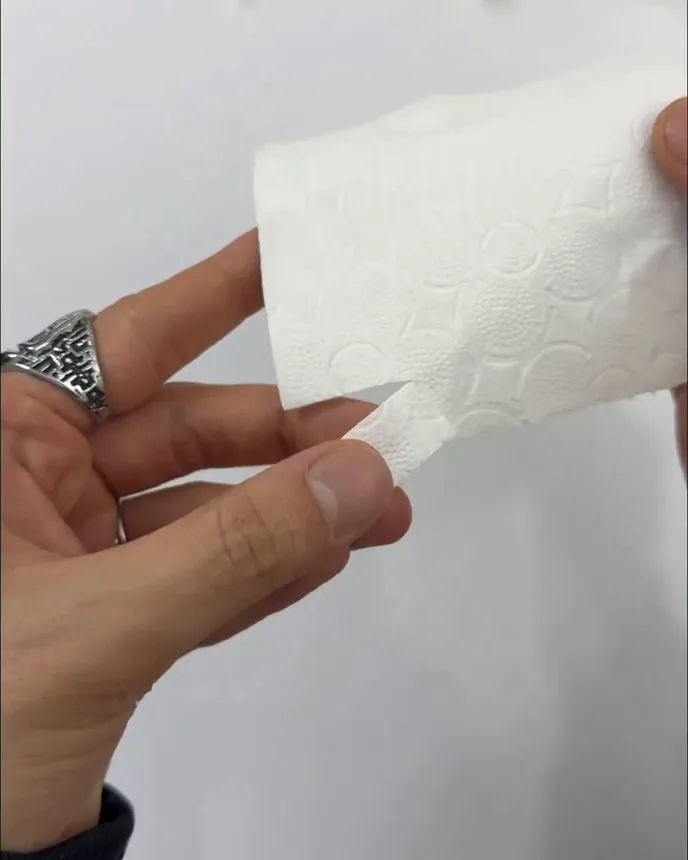
Cut a small tissue square
Cut a 2.5 × 2.5 cm square from a sheet of white textured tissue. Keep the square flat and free of loose scraps.
Watch for: The tissue looks embossed; its brand and thickness are not specified.
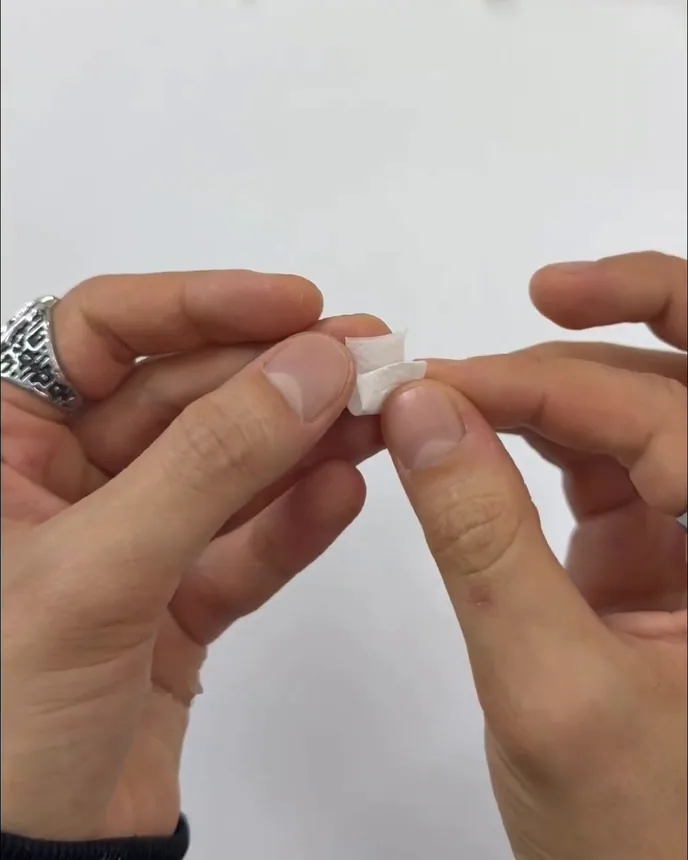
Fold the tissue into a pad
Fold the square in half, then fold it in half again in the other direction. This gives an approximately 1.25 × 1.25 cm multi-layer pad. Press the folds lightly.
Watch for: This is a practical way to recreate the small pad; the video does not reveal an exact fold diagram.
Cut the main adhesive strip
Cut one longer strip of tape, around 7 × 2 cm. Keep the edges straight and place it with its adhesive side facing up for the next step.
Watch for: If your tape is narrower or your finger is larger, adjust the size proportionally.
Fix the tissue pad at the center
Set the folded pad roughly at the midpoint of the sticky strip and press gently. The pad should be centered, leaving approximately 2.9 cm of exposed adhesive on each side.
Watch for: Avoid pressing so hard that the folded tissue becomes completely flattened.
Protect the two sticky ends
Place one prepared cover over each exposed adhesive end, leaving the central tissue pad uncovered. Keep each folded tab accessible so the covers can be lifted later. Smooth the tape with your fingertips.
Watch for: If tape sticks too firmly when used as a cover, use suitable nonstick release-liner paper instead; that is a practical variation, not a visible video step.
Shape rounded bandage ends
With the bandage assembled, trim the corners at both ends into soft curves. Remove just a little material from each corner—roughly 3–5 mm—to create a neat, pill-shaped silhouette.
Watch for: Take care not to cut into the middle tissue pad.
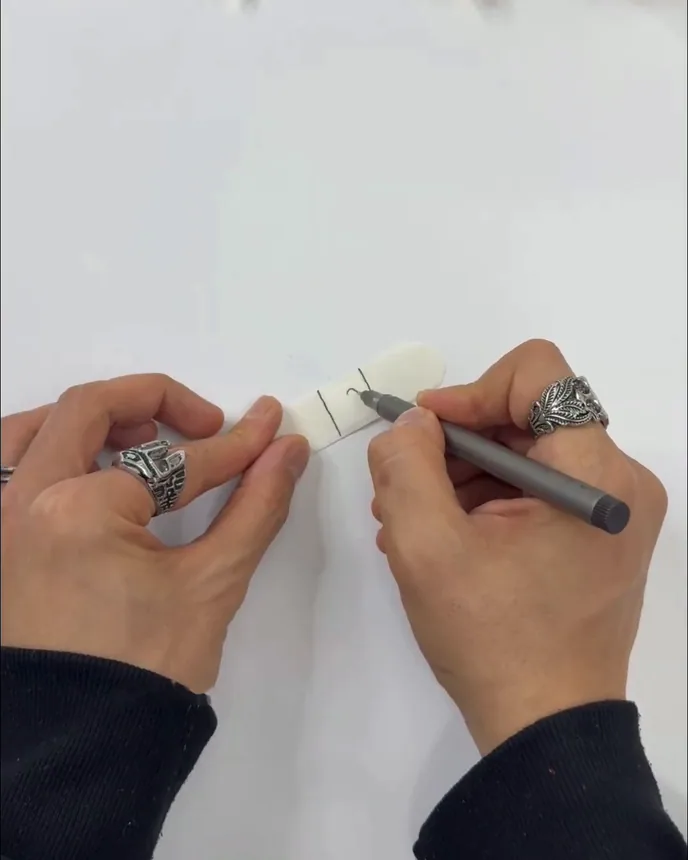
Draw two lines and a heart
Turn the bandage plain-side up. Draw two narrow lines across its width, one on each side of the pad area, about 1.5 cm apart. Sketch a small heart between the lines using a fine black pen.
Watch for: The two lines frame the heart; the pen touches only the outside of the craft.
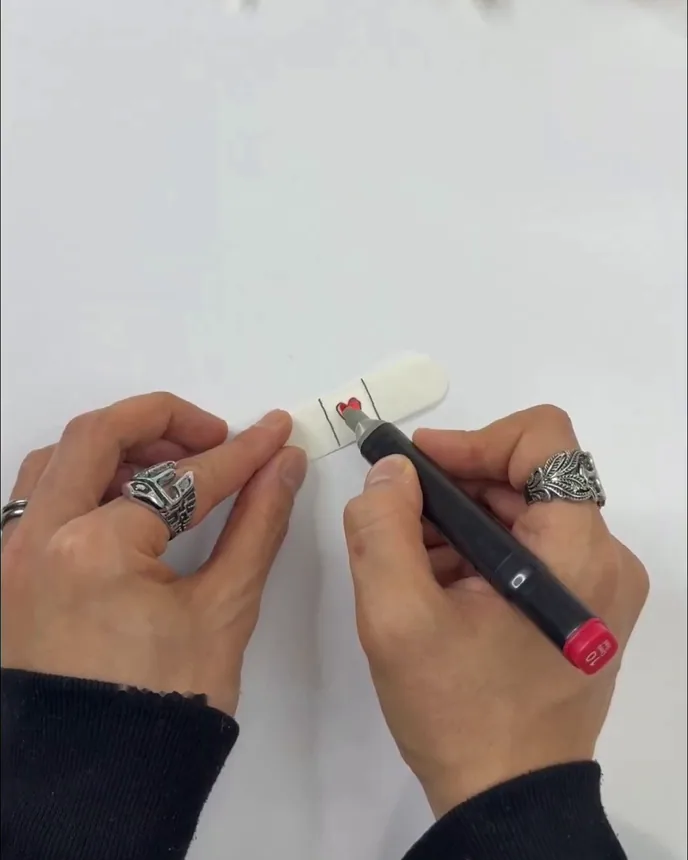
Color the tiny heart red
Fill in the heart using a red marker. Keep the outline visible and let the ink dry before touching the decoration. A heart approximately 6–8 mm tall suits this bandage size.
Watch for: A fine marker is easier to control on the textured tape surface.
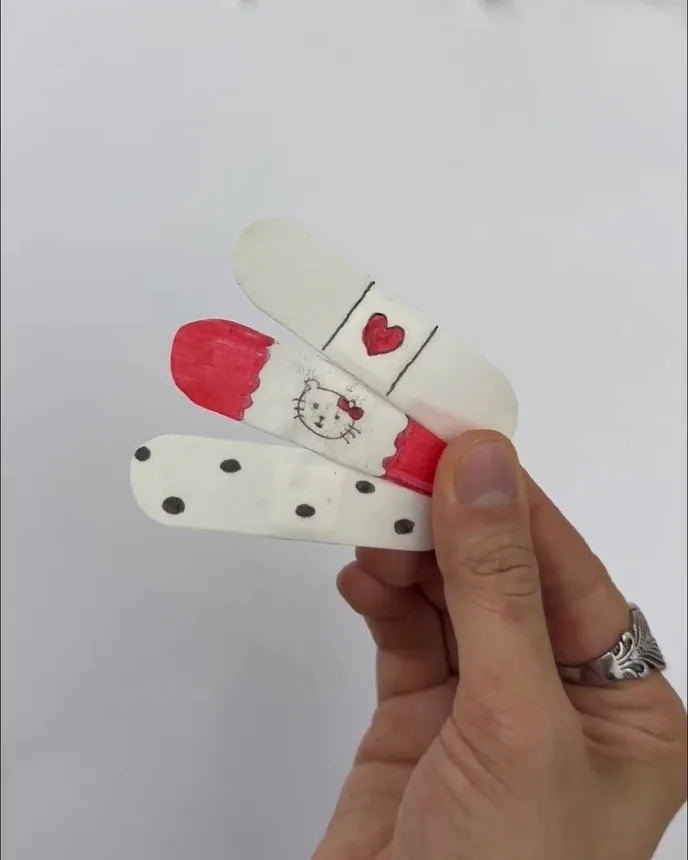
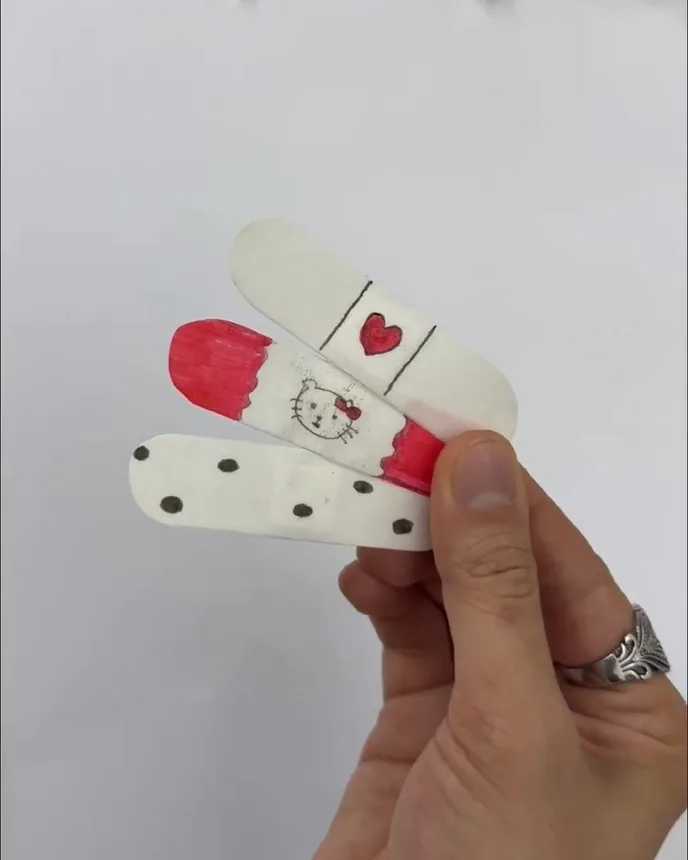
Explore the finished designs
The video briefly displays three variations: the red heart between dark lines, a black polka-dot pattern, and a white bandage with red ends and a small cartoon face. Use them as inspiration after completing the heart version.
Watch for: Only the heart design is demonstrated in full; the other decorations are shown already finished.
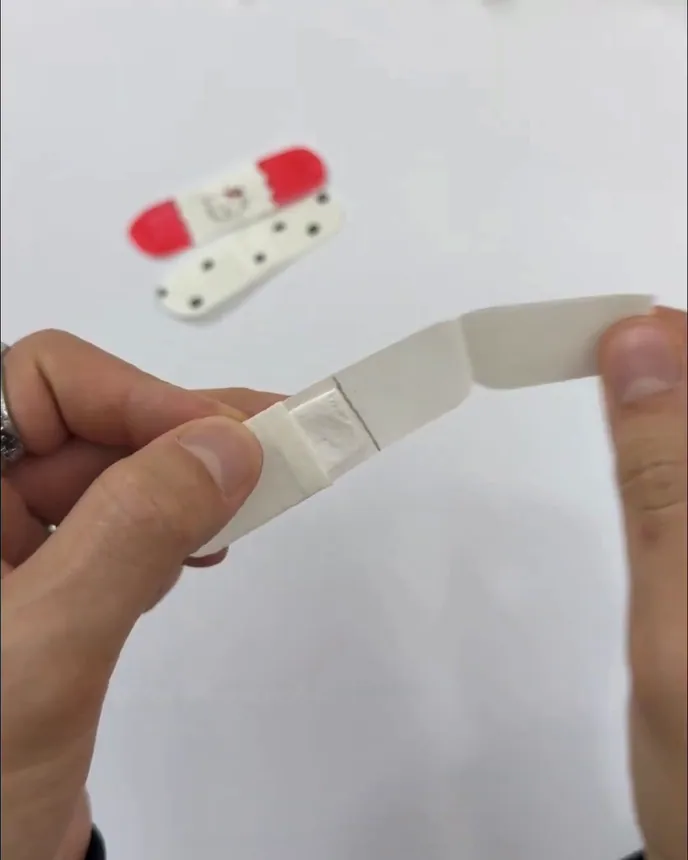
Check the back before wearing
Turn the bandage over. Check that the folded tissue is at the center and that the temporary end covers can be lifted cleanly. Carefully expose the adhesive, keeping fingers off the sticky areas as much as possible.
Watch for: The precise order in which the original maker peels the covers is not fully visible.
Wrap loosely around a finger
Place the center pad against clean, unbroken skin near the fingertip, with the heart facing outward. Smooth one adhesive end around the finger, then the other. Leave the wrap loose and remove it if it feels uncomfortable.
Watch for: For decoration only. Do not use handmade tissue-and-tape bandages to cover an open wound.
04 / Helpful advice
Tips for a neater result
- Use matte tape. Your pen and marker should be able to leave visible marks on the surface.
- Keep the pad centered. Uneven sides make the bandage harder to wrap symmetrically.
- Don’t overfill the heart. A red marker can spread slightly across fibrous tape.
- Round both ends evenly. Cut a tiny amount at a time instead of trying to shape the whole end in one movement.
- Keep the wrap loose. If wearing it briefly as a decoration, stop if there is redness, discomfort, or irritation.
05 / Frequently asked questions
DIY cute bandage FAQ
Can I use ordinary clear tape?
The video appears to use white, paper-style adhesive tape. Clear plastic tape will look different, and it may be harder to draw on or handle. For the closest visual result, choose matte white tape.
Why does my tissue pad seem too big?
Begin with the suggested 2.5 cm square and fold it twice. If the center still looks bulky, reduce the starting square slightly or use a thinner tissue.
What if the protective pieces do not peel away?
Adhesive tape can bond to itself. A practical alternative is nonstick release-liner paper cut to fit the sticky ends. That improves ease of handling but is a modification to the visible craft.
Can I make different characters or patterns?
Yes. The source video also displays polka dots and a red-tipped cartoon-style bandage, but their decoration process is not shown. You can draw your own designs on the plain outer surface.
Can I use this on a real cut?
No. This handmade version is a decorative craft and is not sterile. For an injury, use an appropriate sterile dressing or commercial adhesive bandage.
You made it
Your tiny heart craft is complete!
The finished version has curved ends, a folded tissue center, and a cheerful red heart on the outside. Once you have the basic shape down, you can try dots, little faces, or colorful tips—just remember that those alternate designs were only displayed, not demonstrated, in the original clip.
All photos are frames from the supplied reference video. Confirm you have permission to publish them on your website.