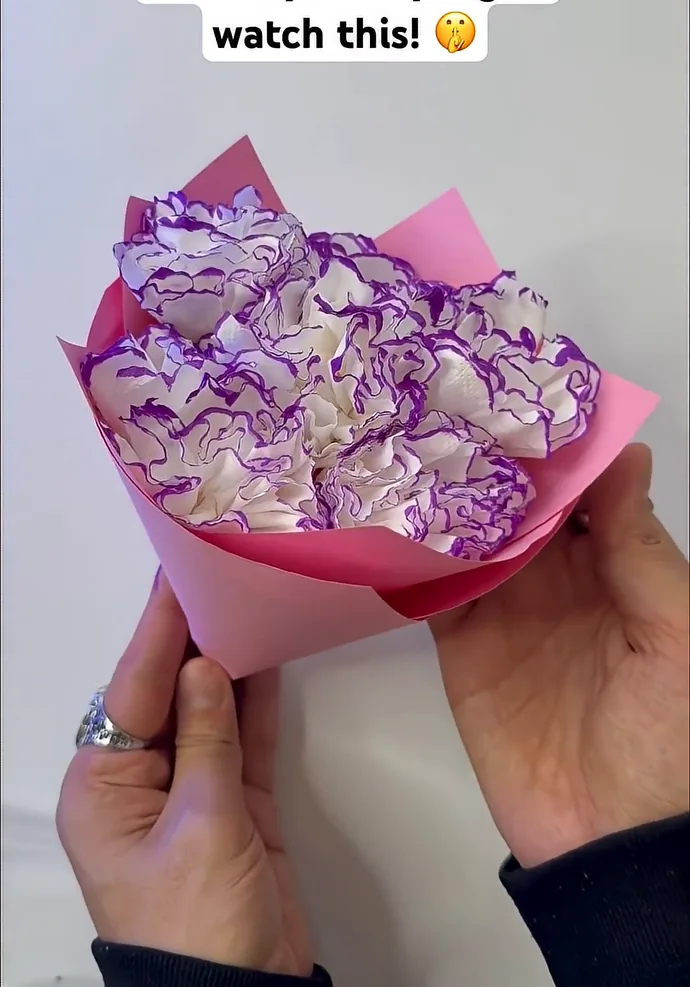
Make a tissue paper flower bouquet at home.
Turn everyday white tissue into beautiful ruffled flowers with purple edges. Fold, color, fluff, and wrap your handmade blooms in pink paper—using simple supplies and clear beginner-friendly steps.
Beginner-friendly
30–60 minutes
12 photo-led steps · Low-cost materials
A note about measurements and the video
The original 22.8-second clip demonstrates the main technique but contains no ruler. Sizes are practical suggestions; a few securing and stem-attachment details are added for clarity where the clip skips them.
What You'll Make
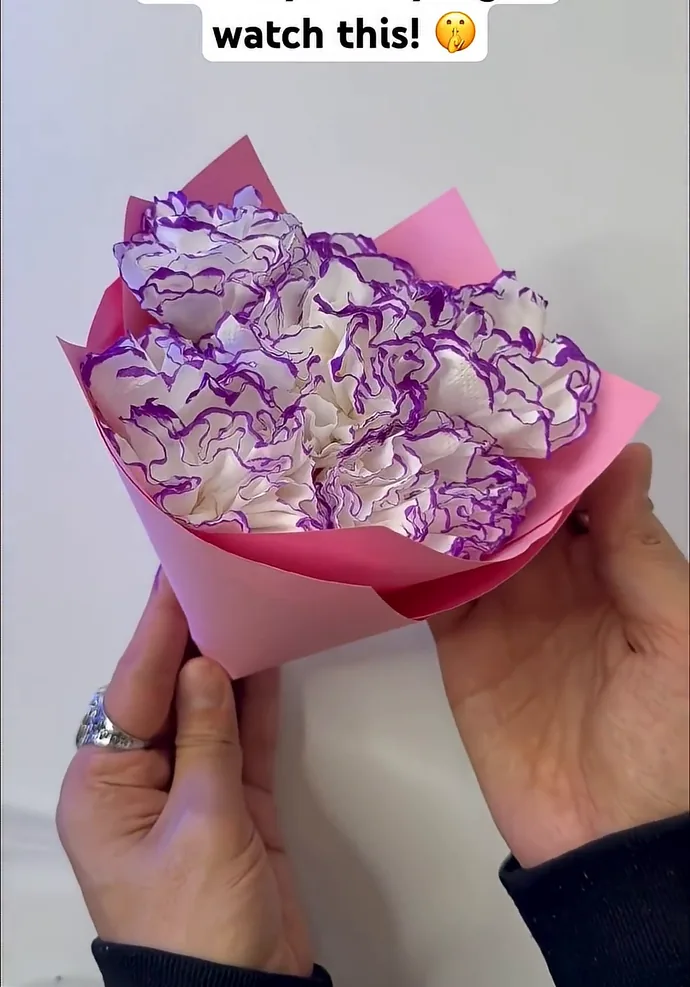
A small bouquet of white, carnation-like paper flowers with purple-rimmed petals. Each flower is formed by folding tissue into an accordion, cinching the middle, coloring the exposed edges, then pulling the delicate layers apart. The blooms are displayed on slim wooden stems and gathered in a pink paper wrapper.
Materials & tools
Soft white embossed toilet tissue or similarly thin, flexible tissue paper
A small blue elastic band or thin thread for each flower
Scissors
A purple felt-tip marker
Thin wooden skewers or paper flower stems
Pink craft or wrapping paper
Optional for practical assembly: clear tape or craft glue to secure stems and wrapper; these attachment steps are not fully demonstrated in the video
Suggested Measurements
All sizes are suggested, not taken from a ruler in the video. For a dainty flower, use lighter or smaller sheets; for a fuller bloom, add additional thin layers. Adjust the elastic or thread and the stem length to fit your actual paper and bouquet size.
| Component | Suggested size | Qty |
|---|---|---|
| Soft tissue squares | Approx. 10 × 10 cm each | 2–3 per flower |
| Accordion pleat depth | Approx. 8–12 mm | Across whole stack |
| Small elastic or thread | Just long enough to secure center without tearing | 1 per flower |
| Wooden stem | Approx. 18–25 cm | 1 per flower |
| Pink wrapping paper | Approx. 25 × 30 cm, adjusted to bouquet size | 1 sheet |
| Finished flower head | Approx. 7–10 cm across | 4–5 for a small bouquet |
How to Make the Tissue Paper Flower Bouquet
These photographs are selected frames from the reference video, arranged in the same order as the maker’s actions.
Prepare soft white paper
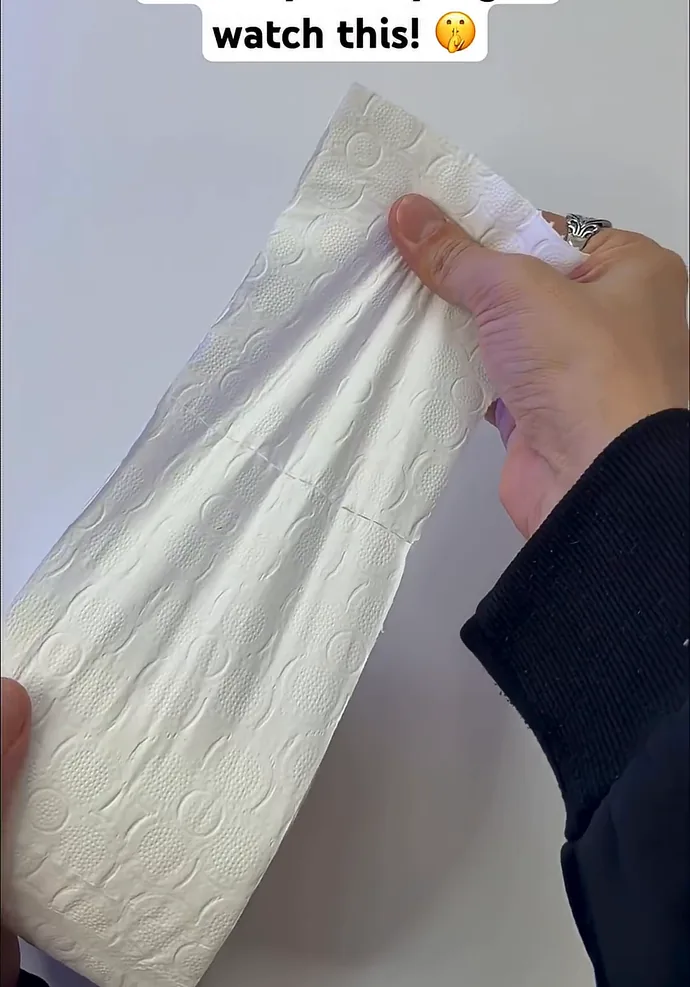
Pull a short length of soft white toilet tissue or thin tissue paper and separate 2–3 squares, about 10 × 10 cm each. Lay them flat, align the edges, and smooth out any creases without tearing the thin sheets.
Fold into accordion
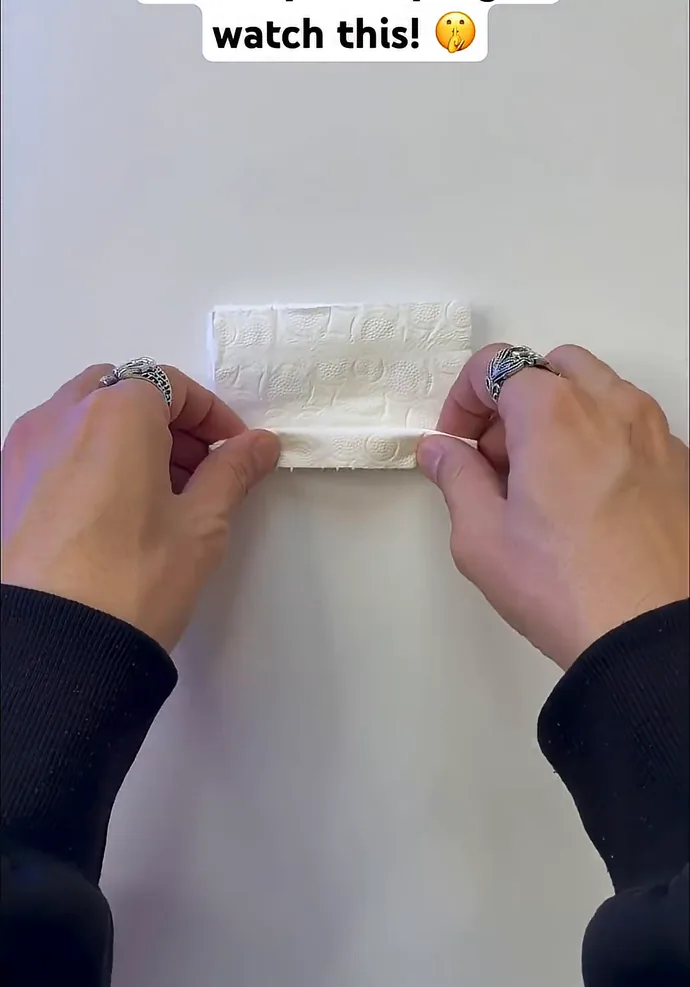
Starting along the lower edge, fold the stacked paper back and forth in a narrow zigzag, like a fan. Keep each pleat about 8–12 mm deep and press each fold lightly so the stack stays neat and even.
Secure the center
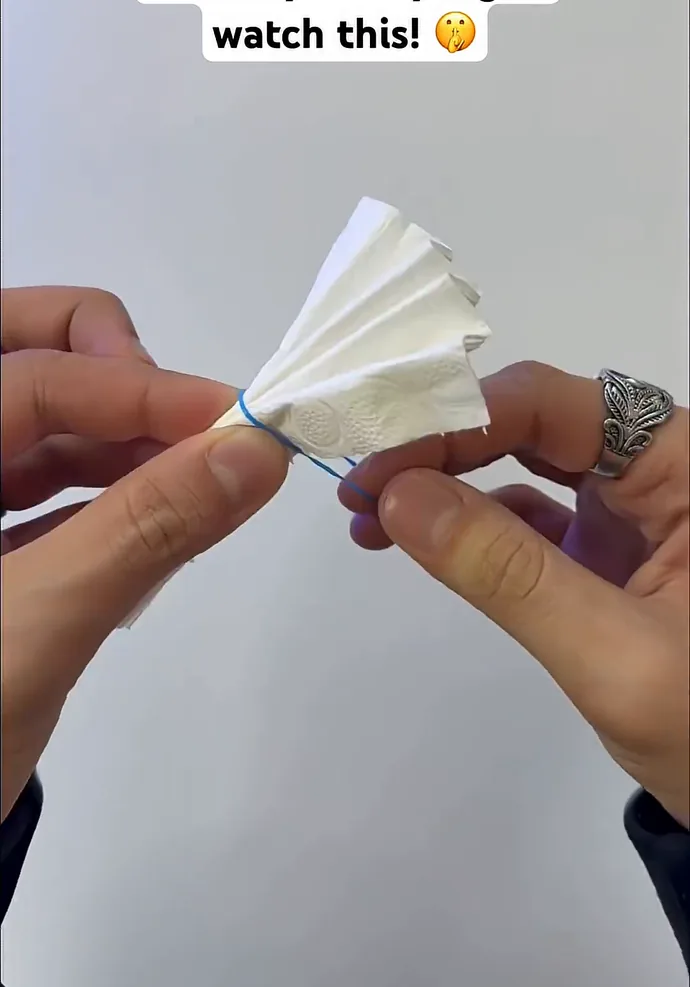
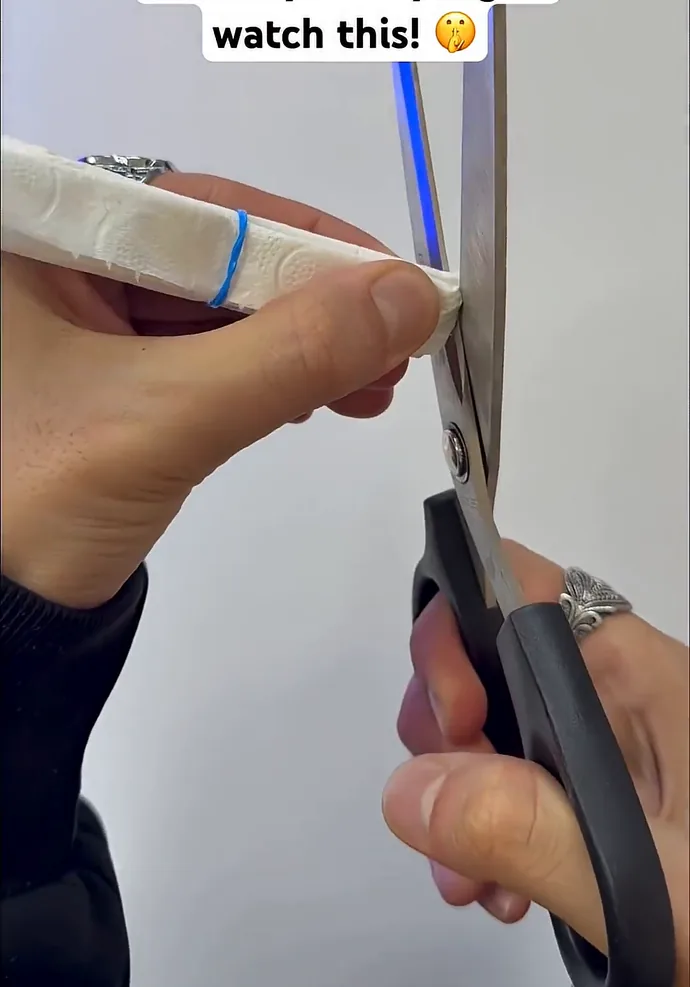
Wrap a small blue elastic band or thin thread around the center, as shown. Keep the band snug but not so tight that it tears the tissue.
Trim the folded ends
Hold the pleated bundle firmly at the center and trim both folded ends into soft, rounded points. Keep the cuts even on both sides so the flower looks balanced when it is opened.
Color edges purple
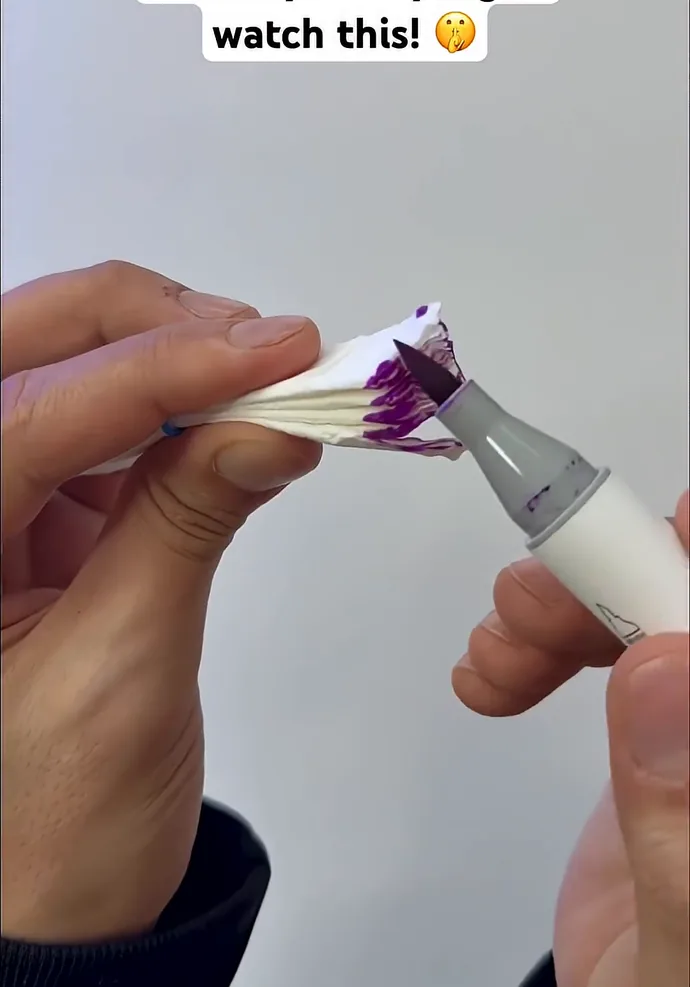
Keep the tissue folded and use a purple felt-tip marker to color both folded ends, as shown. Color only the very edges so the purple stays as a soft rim, not a deep stain. Let the marker dry briefly before opening the pleats.
Fan out pleated paper
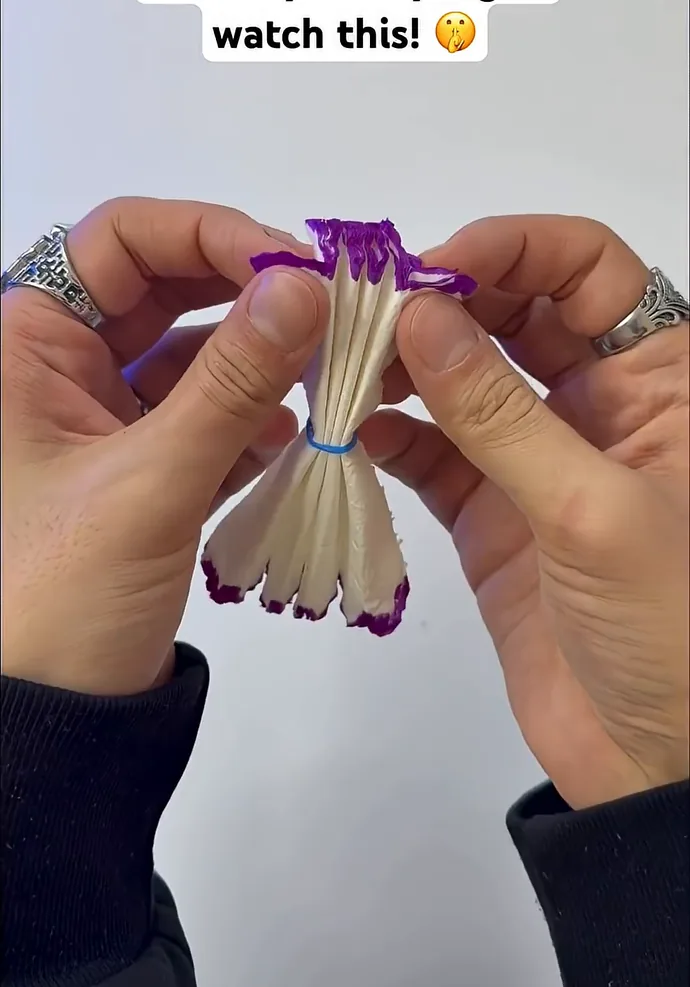
Hold the pleated bundle at the center and gently open it into a fan shape. Spread the pleats evenly to both sides of the center, keeping the band in place while you arrange them.
Separate and lift delicate layers
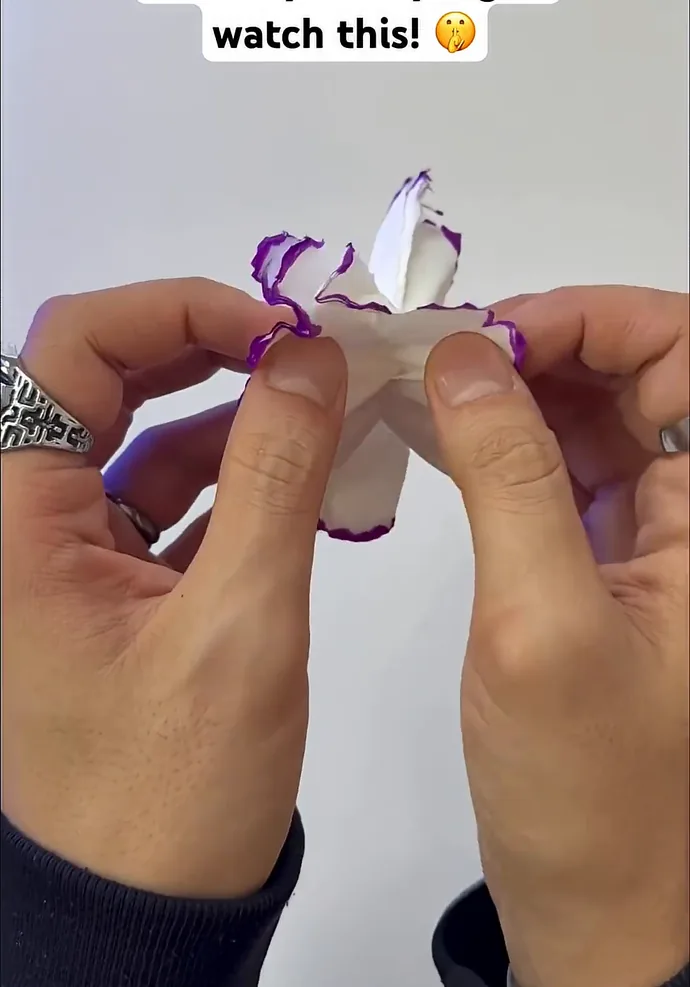
Working carefully, begin to separate the individual layers of tissue. Lift the top layer upward first, then move slowly through the stack, pulling each layer toward the center. Work one side at a time, handling the thin sheets gently to avoid tearing.
Fluff into final shape
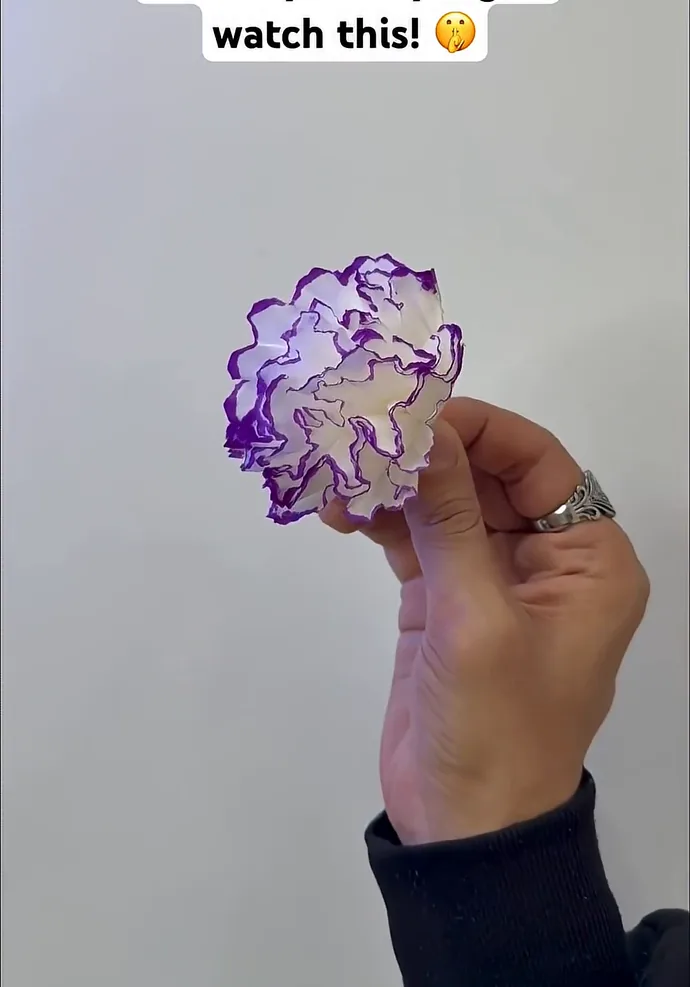
Continue fluffing the layers until the tissue forms a full, rounded bloom. Arrange the petals evenly around the center and adjust any flat areas.
Add a stem
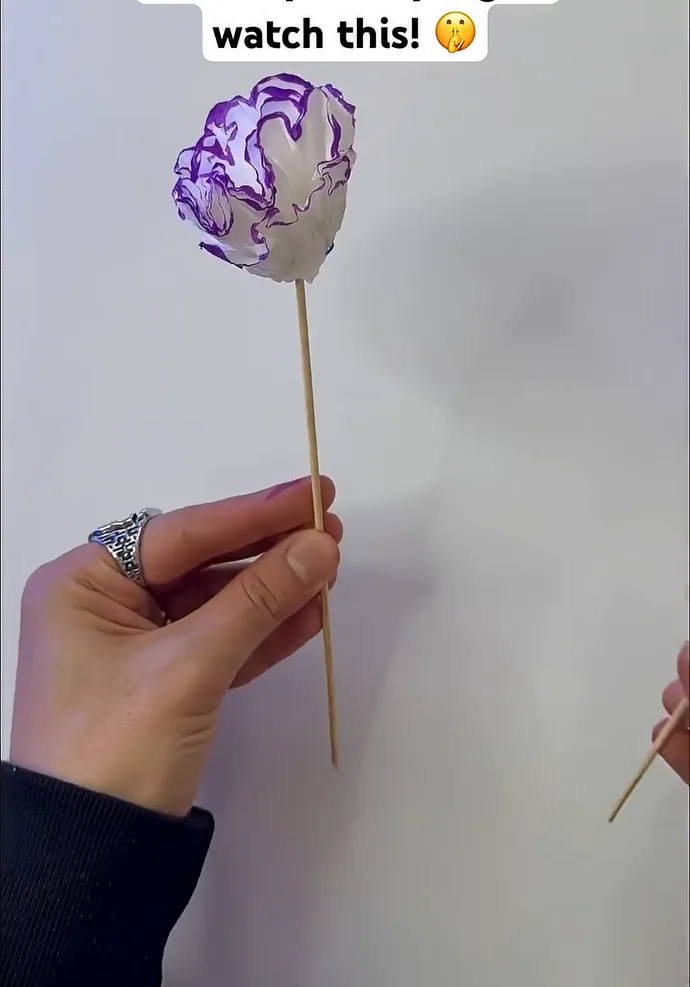
The video does not clearly show how the stem is attached. As a practical step, fix a thin wooden skewer or paper flower stem to the back or center of the flower head with a small piece of clear tape or a little craft glue. Let any glue dry before handling.
Make several matching flowers
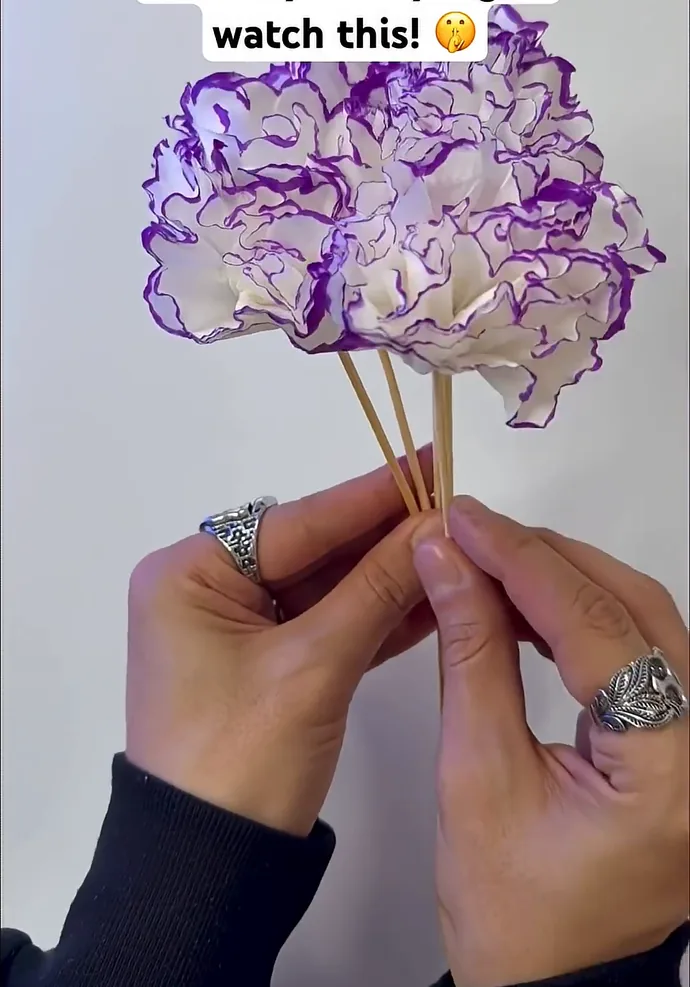
Repeat the folding, securing, coloring, and fluffing steps to make four or five matching flowers. Use the same tissue size and pleat depth so the blooms look consistent.
Watch for: Make four or five matching flowers, varying the purple edging slightly while keeping the same white tissue and pleat style, and stagger the flower heads at different heights when you gather them.
Wrap bouquet with pink paper
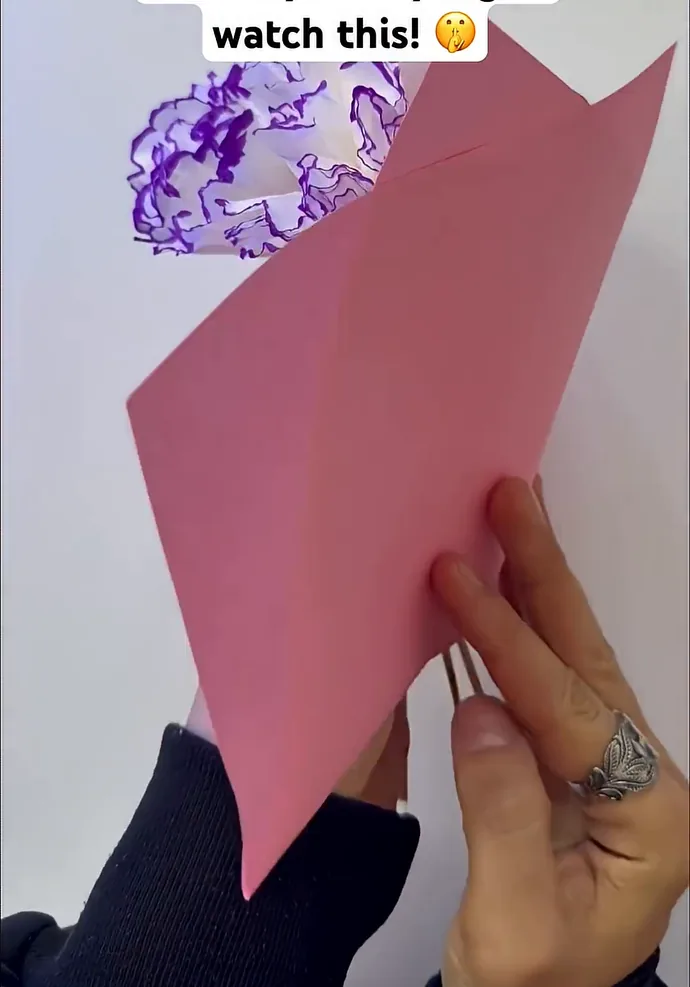
Place the grouped flowers against a sheet of pink craft or wrapping paper and fold the wrapper into an angled cone, with the paper rising behind and around the blooms and the flower heads visible above the top edge. Secure any overlap on the back with tape or glue if necessary. The video shows the wrapper positioned around the bouquet, but not every fastening action, so use tape or glue as a practical step where needed.
Watch for: Fold the pink paper so the flower heads stay visible above the top edge, keep the cone end neat, and make sure the stems are stable in the wrapper.
Shape and display finished gift
Adjust the front flaps of the pink wrapper and spread the flowers apart so the purple outlines can be seen. Keep the narrow cone end neat and the stems stable. Your budget-friendly handmade bouquet is ready to display or to give as a gift.
Watch for: Spread the flowers apart so the purple outlines can be seen, keep the narrow cone end neat, and make sure the stems are stable before displaying or gifting the bouquet.
Tips for Neater, Fuller Paper Flowers
- Use thin paper. Soft, thin tissue separates easily and fluffs into a fuller bloom; thick or stiff paper is harder to shape.
- Keep pleats even. Even folds about 8–12 mm deep make the flower balanced and symmetrical when it is opened.
- Secure the center firmly. A snug elastic band or thread keeps the pleats together, but do not pull so tight that it tears the tissue.
- Color before fluffing. Color the folded edges purple while the paper is still pleated, so the rim stays even and clean.
- Use the marker gently. Test on a spare scrap first, because marker ink can bleed through thin tissue; color only the very edges.
- Work from the center outward. Lift the layers one at a time from the center, moving outward, to avoid tearing the delicate sheets.
- Keep moisture away. Tissue paper wilts and tears when wet, so keep the finished bouquet dry and away from water.
Frequently Asked Questions
Can I use ordinary toilet paper?
Yes. The video appears to use soft white toilet tissue, or a similarly thin, flexible tissue paper. Choose a soft, embossed toilet tissue that separates into thin layers and fluffs easily, and avoid thick, stiff, or heavily textured paper that will not open into a soft bloom.
How many sheets do I need for each flower?
Use 2–3 soft tissue squares, about 10 × 10 cm each, for each flower. For a dainty flower, use lighter or smaller sheets; for a fuller bloom, add additional thin layers. Keep the same size and pleat depth across a bouquet so the flowers match.
Do I need glue for the flower head?
No glue is needed for the flower head itself. The center band holds the pleated layers together. Use clear tape or a little craft glue only as a practical step to fix a stem to the back or center of the flower head, and to secure the wrapper overlap, where the video does not clearly show the attachment.
What should I do if the petals tear?
Handle the thin layers gently and work one layer at a time from the center outward. If a petal tears, you can still arrange the remaining layers around it, or start again with fresh tissue; keep the center band snug but not so tight that it tears the paper.
How long does a full bouquet take to make?
Allow 30–60 minutes for a small bouquet of four or five flowers, including folding, coloring, fluffing, adding stems, and wrapping. Your first flower will take the longest; later flowers go faster once the fold and fluffing steps feel familiar.
Is this a good handmade gift?
Yes. A small bouquet of white flowers with purple-rimmed petals, wrapped in pink paper, makes a budget-friendly handmade gift. It is a paper craft for display and giving, and it keeps best dry and away from water.
Final Thoughts
With a simple accordion fold, a snug center band, purple-dipped edges, and layer-by-layer fluffing, you can turn everyday tissue into a soft, ruffled bloom. Start with one bloom, then repeat the steps to make four or five matching flowers and wrap them in pink paper for a sweet handmade bouquet. Would you choose purple petal edges or try a different color?
All photos are frames from the supplied reference video. Confirm you have permission to publish them on your website. Approximate measurements and stem-fastening guidance are editorial additions and are not explicitly measured or demonstrated in the clip.

IN THIS GUIDE
AT A GLANCE
Difficulty: Beginner to intermediate
Time: 30–60 minutes
Color: White with purple edges
Finish: Pink-wrapped bouquet
Category: Paper Crafts / Gifts
DIY Tissue Paper Flower Bouquet
Paper craft tutorial · Measurements are estimates
Creative Variations
Try soft pink, blue, or red petal edges instead of purple, and match the wrapping paper to the new edge color. Add a small ribbon around the wrapped bouquet, or mix flowers with different edge colors for a mixed-color bouquet. These are optional variations inspired by the technique, not additional designs demonstrated in the source video.
Safety Note
Take care with scissors and pointed skewers. For children’s crafts, use blunt-ended stems, or trim or cover any sharp points, and supervise children at all times.